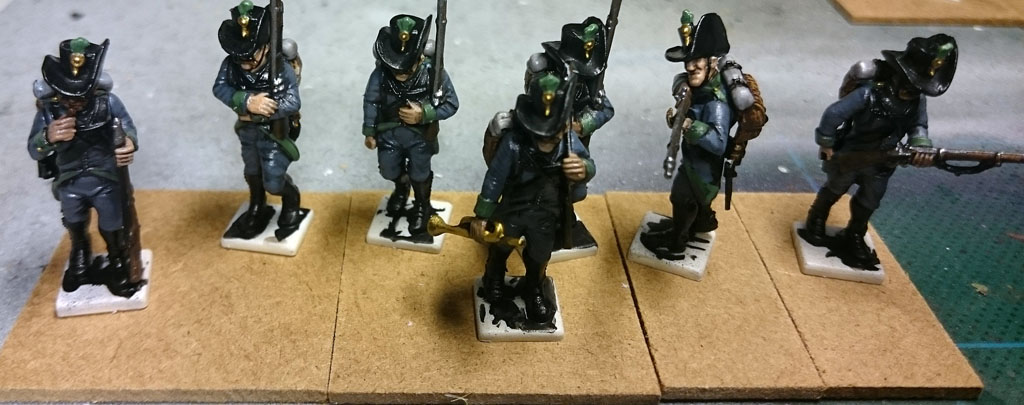
So, I'm going to use my Jägers for this little tutorial.
First up I "dry fit" the miniatures on the bases I'm going to use. For this, I used two 40x40mm bases and two 20x40mm bases, here I just makes sure that I can fit every miniature that I want and get the composition for them right.
The next step is putting in the ground, this I do by mixing filler, wood glue and a bit of brown paint, I usually use a mixture of about 4/2/1 here, but it's not that important just how you do it.
First I spread a 2-3mm layer of this stuff all over the base, then I press the miniatures into it, and lastly I take a old brush and spread it around to get some nice texture going and covering the bases so that the miniatures will set.
If I want rocks on the base I also place them here, just shove them into the mix and blend the mix around them so that they look like they are imbedded in the ground.

This then has to dry, usually I leave them overnight, but they mostly need 3-4 hours to dry though, and this next step is possible as soon as it's mostly set.
Here I just add some patches of cork, dab a bit of wood glue on the base and stick them in the cork container. I try to get some flow on the bases here, so that they fit together with the cork.

After yet another drying period its time to put down the first layer of paint, I use the same paint as I mixed with the filler, I use a craft paint I get at a local craft chain here in Sweden called Panduro, the colour is Burnt Umber and this paint is really thick, so I mix it with a lot of water and paint over everything, some times even over the rocks on the bases. Here it's important not to have such thick paint so that the texture from the cork disappears, but it ok to have it blend together a bit.

Next step is to paint the rocks, here I used a few grays I had close at hand, but I could also use the craft paint. I'm not that carefull when I drybrush it, as any spill will either be covered up, or just look like, you know, ground.

Then I drybrush the ground. I usually do this in two steps, first a 1/1 mix of the burnt umber craft paint with a bone colored craft paint, after this I do another go with just the bone colour. Here you can see the progression from base, one coat and two coats.

After this I put on some static grass, I cover everything that's not covered in the cork, and a few smaller patches in the cork, to break it up a little bit and shape the bare ground a bit.
The grass I use it Army Painters Steppe Grass, that I think has an excellent blend of colours.

And the last step is to add a few tufts of, well anything you want. Nowadays I mostly use small patches of flowers and bushes made out of clump foliage. But anything you like is right in this stage. This is just they way I do it on these miniatures, and I might do it some other way on some other army.
The flowers are from MiniNatur as you can see in the picture, I got mine from Antenocitisworkshop but I have also seen them at a local train shop here, so look around a bit if you want to have them as well.

And thats about it, if there is any other questions don hesitate to write a little line in the comment field, if you want to now something you can bet there is a few others that wants to know the same thing.
Very handy tutorial, and beautiful result! MiniNatur is really amazing stuff, have you seen their ready made fields and larger mats? Very tempting stuff :0)
ReplyDeleteThank you, and I have seen those mats, but I prefer to not look at them or I'm going to buy them in far to great numbers =)
Delete