
February 15, 1862 Tennessee
"Come on you volunteers, come
on. This is your chance. You volunteered to be killed for love of your country
and now you can be."
Brig. Gen. Charles F. Smith
During the war the Confederate
defence of the Western Theatre was to prove crucial to the outcome of the
entire conflict. Unfortunately for the Rebels both the Tennessee and Cumberland
rivers pierced their defences and were natural invasion routes for Federal
forces. The Cumberland was defended by Fort Donelson, a large earthwork built
on high ground just outside the small town of Dover.
After the fall of Fort Henry on the
Tennessee River Union troops under Brigadier General U.S. Grant quickly marched
on Donelson, laying siege to it on February 12. The Rebel bastion was commanded
by Brigadier General John B. Floyd, a man not suited to military command. On
the morning of the 15th the Confederates sprang a surprise attack on the
besiegers and by midday had shattered the Union right flank and opened a route
to freedom. Amazingly the Rebel commanders then decided against further
fighting or escape and retired back within their defences.
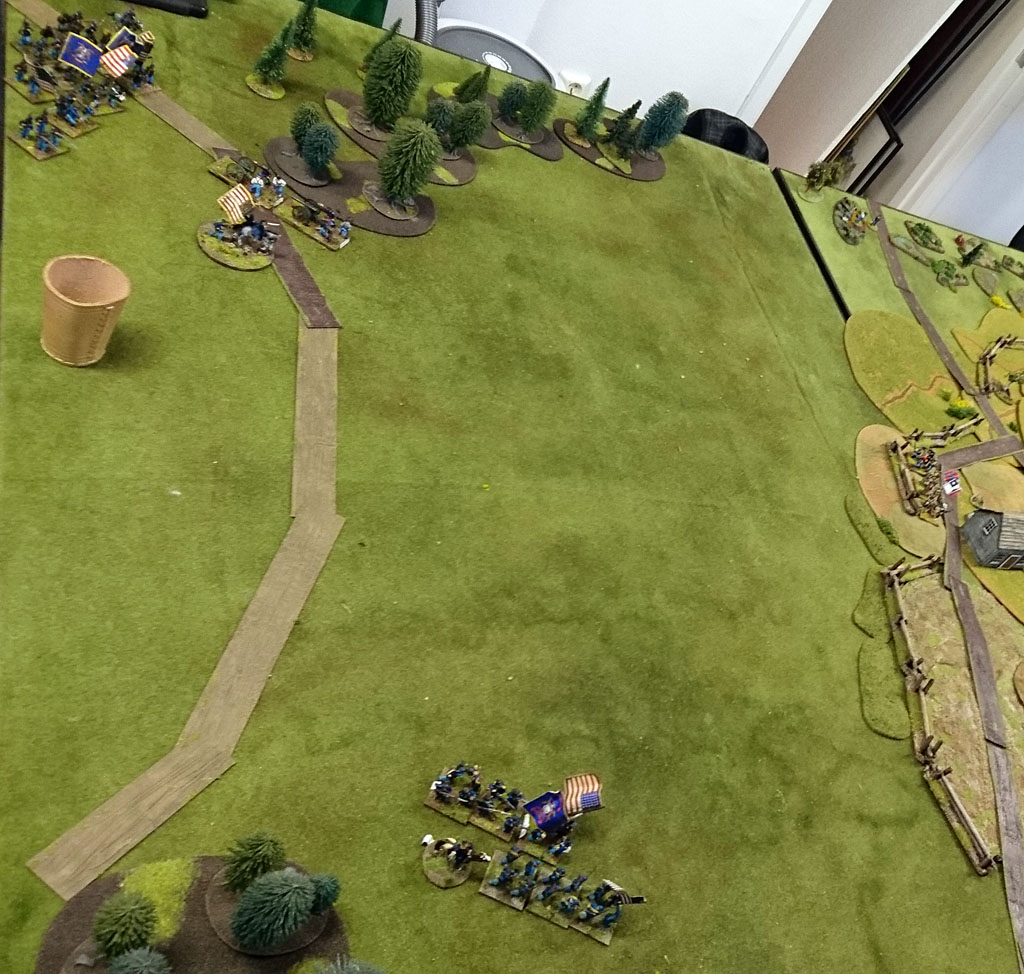
At the height of the Rebel attack, in
an attempt to relieve the pressure on his right, Grant ordered Smith's Division
on his far left forward against the Rebel works. As Smith's men, spearheaded by
the 2nd Iowa, struggled through the harsh terrain only one Confederate regiment
stood between them and the fort, the 30th Tennessee, grievously extended to
cover the near empty trenches. Nevertheless, the Tennessean's and the rugged
topography held the Federals up long enough for the returning troops of Buckner's
Division to stiffen the defence and bring the Yankees to a halt.
I took
overall command of the Union side and handled one of our three brigades, while
my second in command hand another and then the last was a joint command of
whoever needed the troops when they arrived.
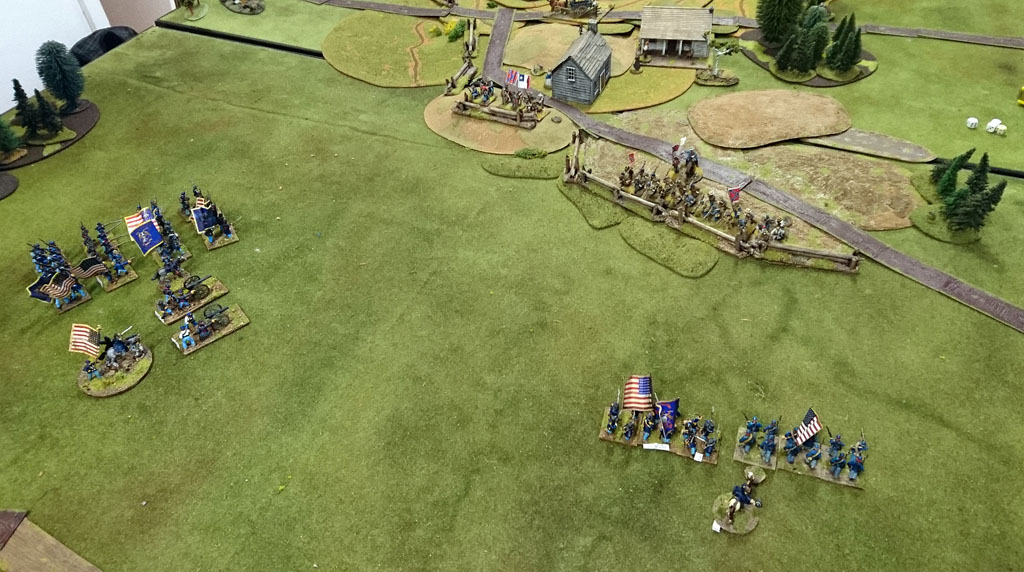
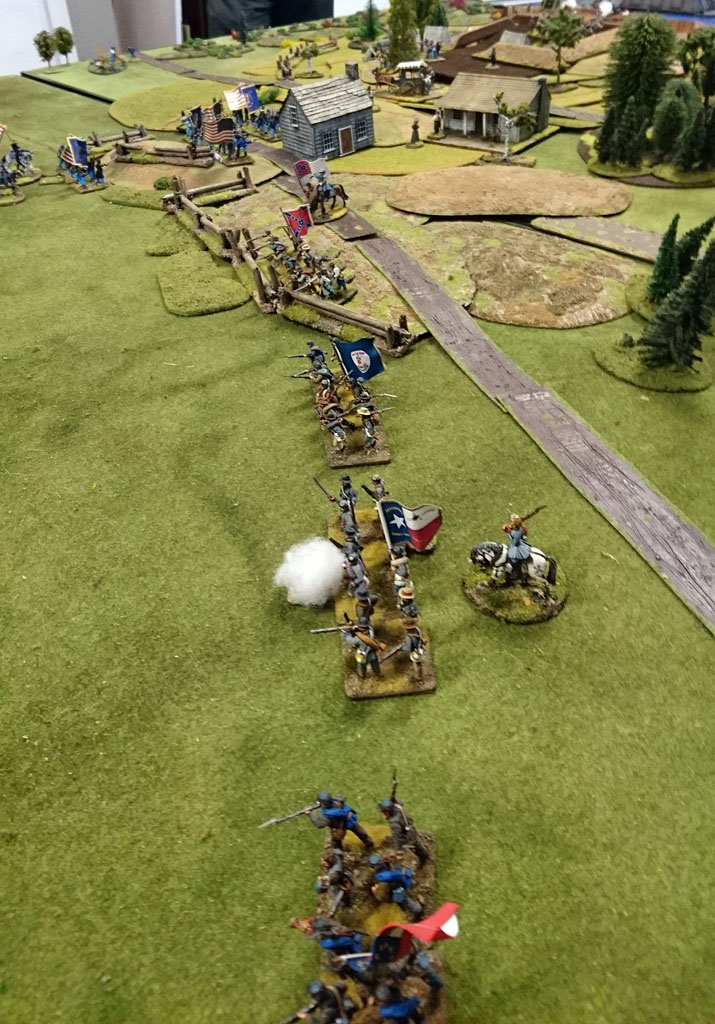
The rebel
reinforcements arrive in good order along the road, and occupy the defensive
line along the fort, just before the Union could get there.
The union
left makes a valiant charge up to the defensive parameters to try to break
through the lines, the manpower was on the union side, but the rebels are in a
great defensive position…

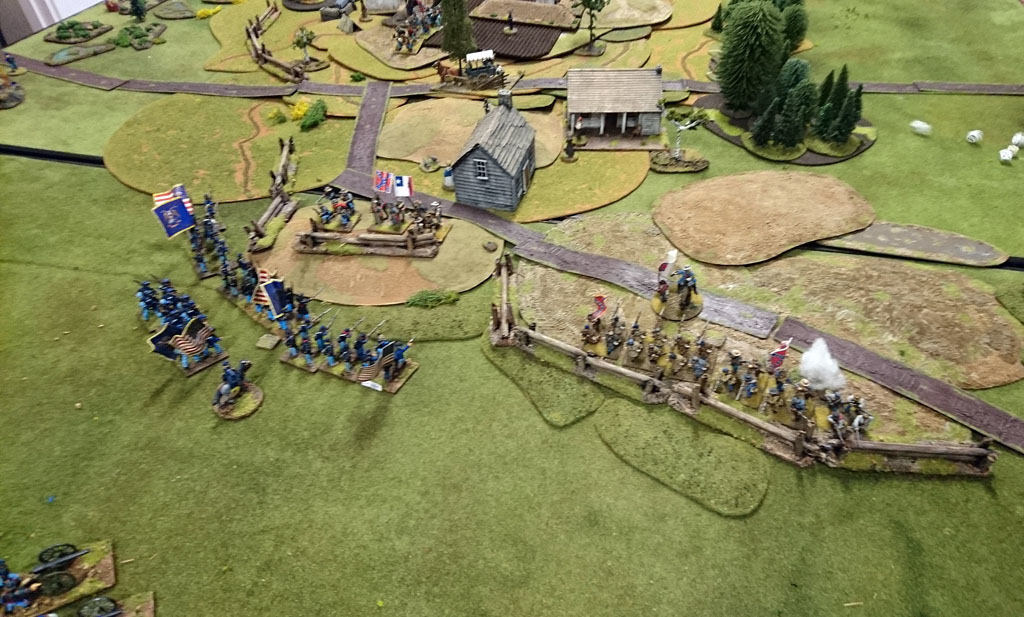
And with
a stroke of great fortune, the rebels break and flees almost immediately,
leaving the line in the hands of the union troops.
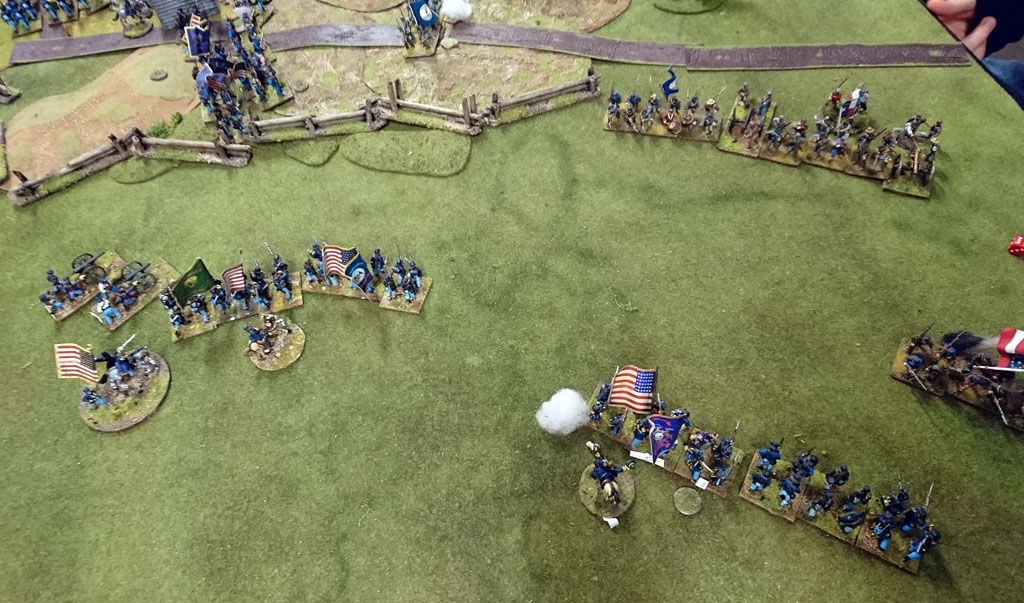
This
caused some panic on the rebel side, and reinforcements was thrown in to
contain the breach and throw the blue coats out. At the same time more union
reinforcements arrive, taking up position in the centre and advancing in the
rebels.
The
breakthrough and not a single rebel in place to contain it as more of the union
troops get over the line and sets up a pocket to resist and rebel advances.
Rebel
reinforcements, but the arrive to slowly for the southerners taste, and many
battalions are used to stop the union right flank from cutting of their road,
battalions that could have been used in other parts of the field.

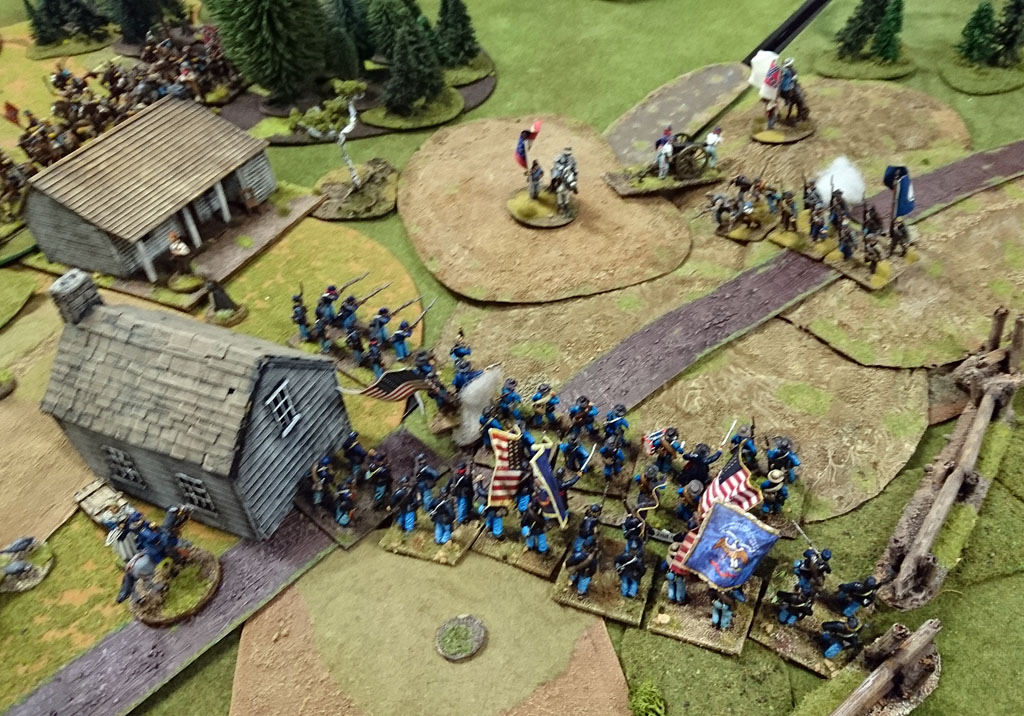
Finally
the artillery arrives as well as more troops, but at this time there is already
another break in the lines, and the centre brigade has moved into the lines,
making the rebel position untenable.

There was
some militia troops in the fort and to try to delay the union advance they
sallied forth and got into an engagement with the union regulars in what was to
become a drawn out battle where the rebels held despite terrible odds!

Rebel
left flank.
Hard
fighting on the flank as the union tries to delay as many rebels as possible
while the is centre reinforced.
With the
centre reinforced and the first rebel attempt to stop it is blasted away, the
rebels throws the hat in and withdraws from the battlefield. Victory to the
union forces!


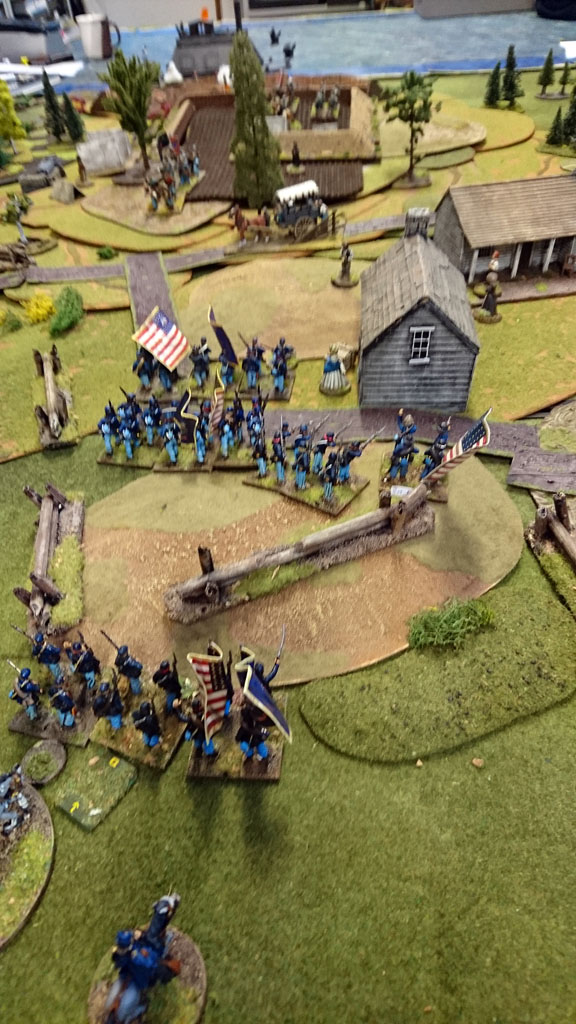
End of game pictures.
There are more pictures and a few more lines about the battle at my fellow commanders blogs:
Please take a look there as well for some more action!
No comments:
Post a Comment